HyperLED-Slave
Firmware for the slaves in HyperLED's master/slave network.
A controller for LED strips and panels that needs no cloud. You operate it in the browser, on your phone or through Home Assistant.
With HyperLED you control LEDs, from the strip behind the TV to a large installation with several controllers and matrix panels. You operate it through a web page that the controller serves itself. You need no account, no app and no cloud service.
HyperLED is inspired by the WLED project but has different features. The firmware runs on an ESP32-S3, a small, inexpensive microcontroller.
| Status | Active · version 0.3.005 |
|---|---|
| License | EUPL-1.2 |
| Board | ESP32-S3 |
| Tested on | Waveshare ESP32-S3-Zero |
| LEDs | WS2812B, SK6812, APA102 and more |
| Operation | Browser, hyperled.local |
| Smart home | Home Assistant (MQTT) |
| Technology | C · PlatformIO |
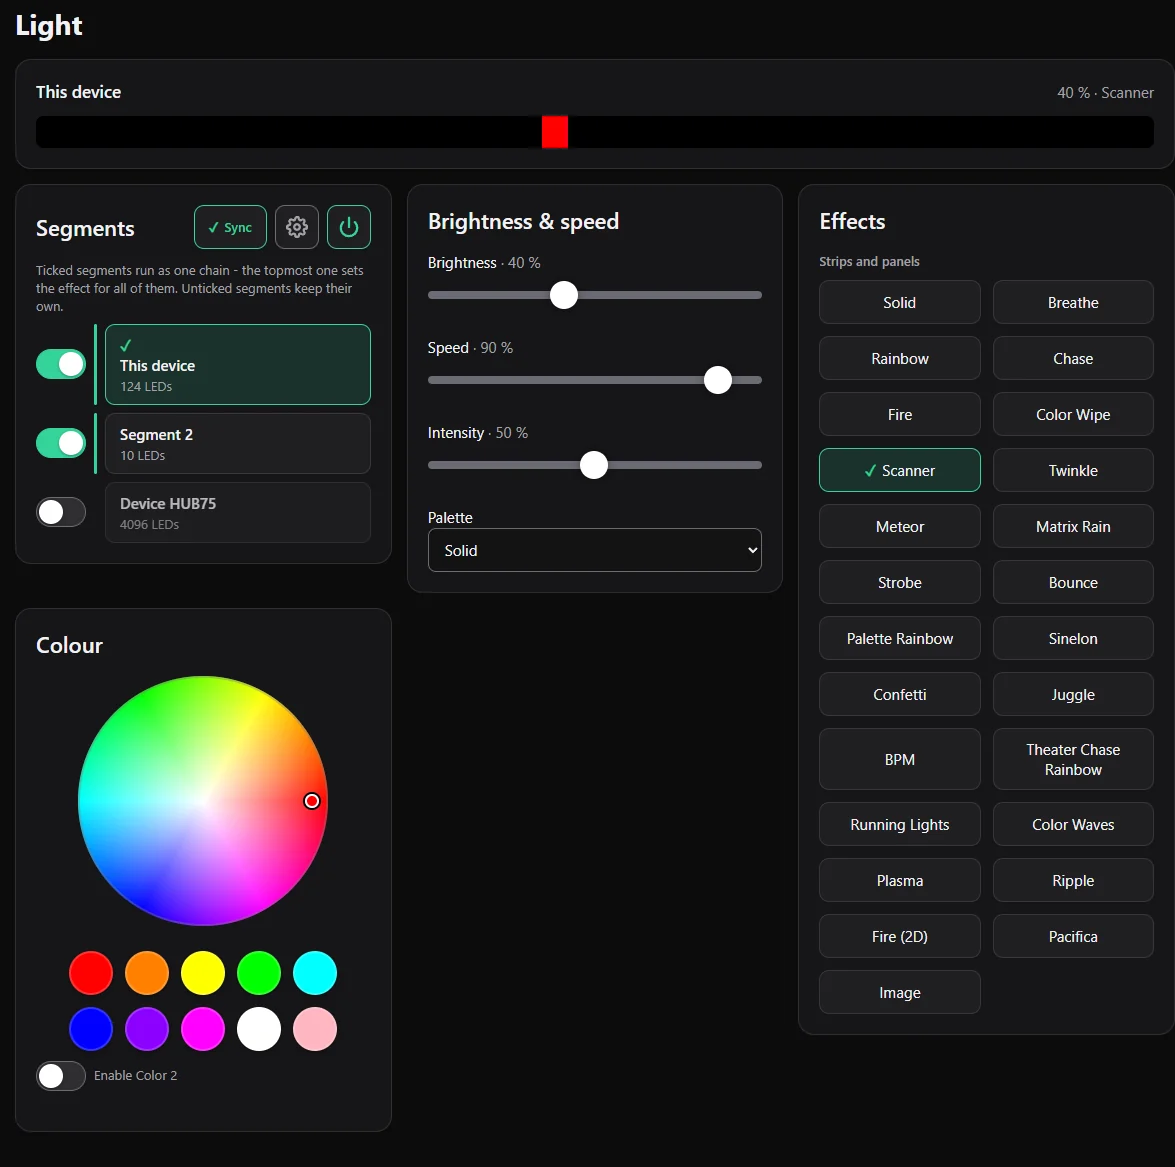
On the start page you choose an effect, a color, the brightness and the speed. Around 30 effects are built in, for example fire, rainbow, plasma, chase and confetti.
The page adapts to your phone and is reachable on your home network at hyperled.local without any extra software. The round button at the top right switches everything on or off.
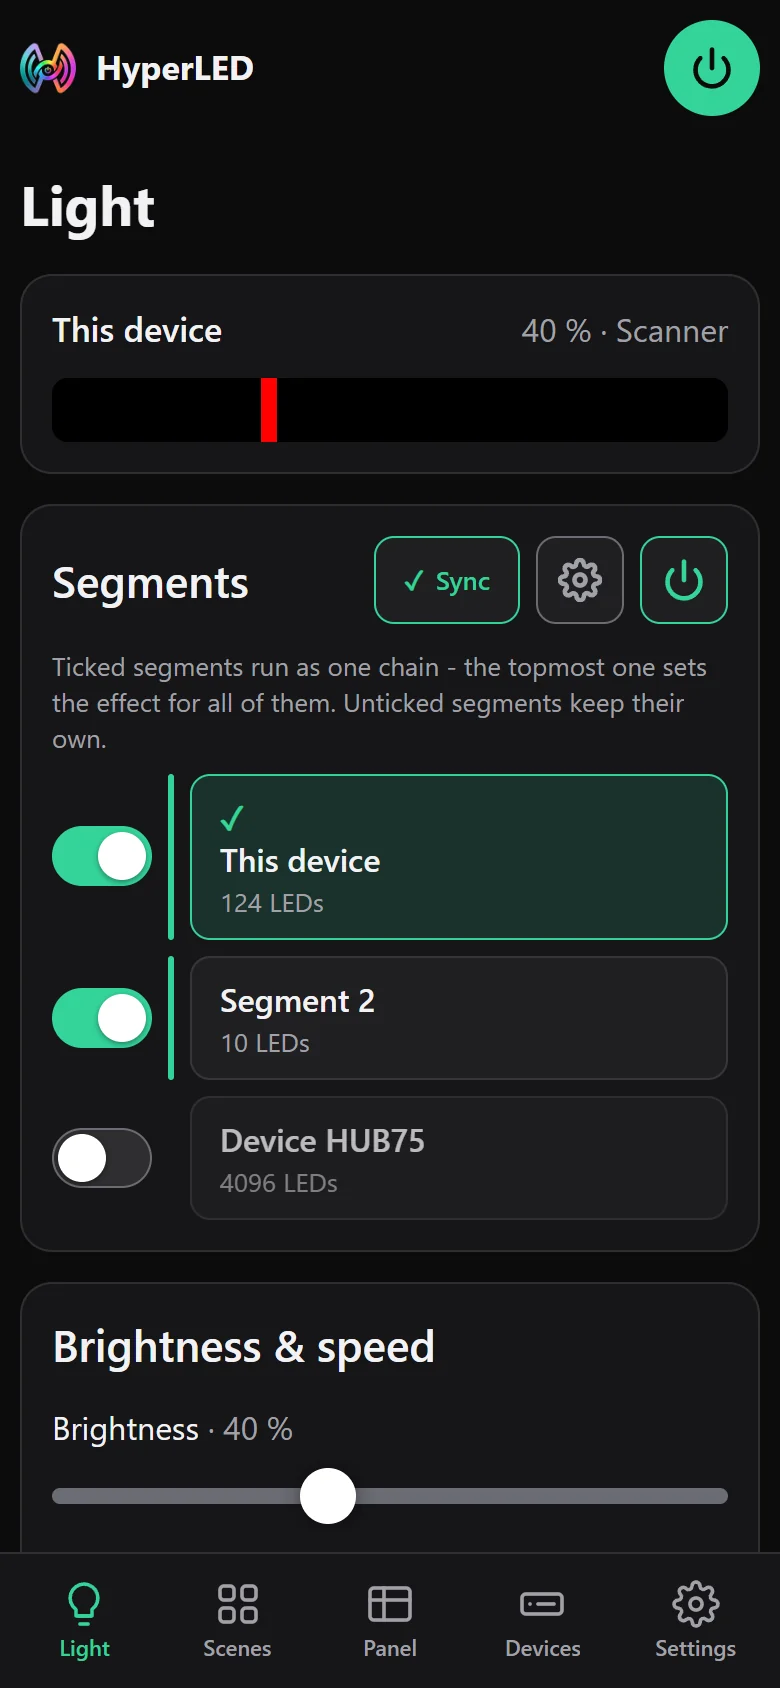
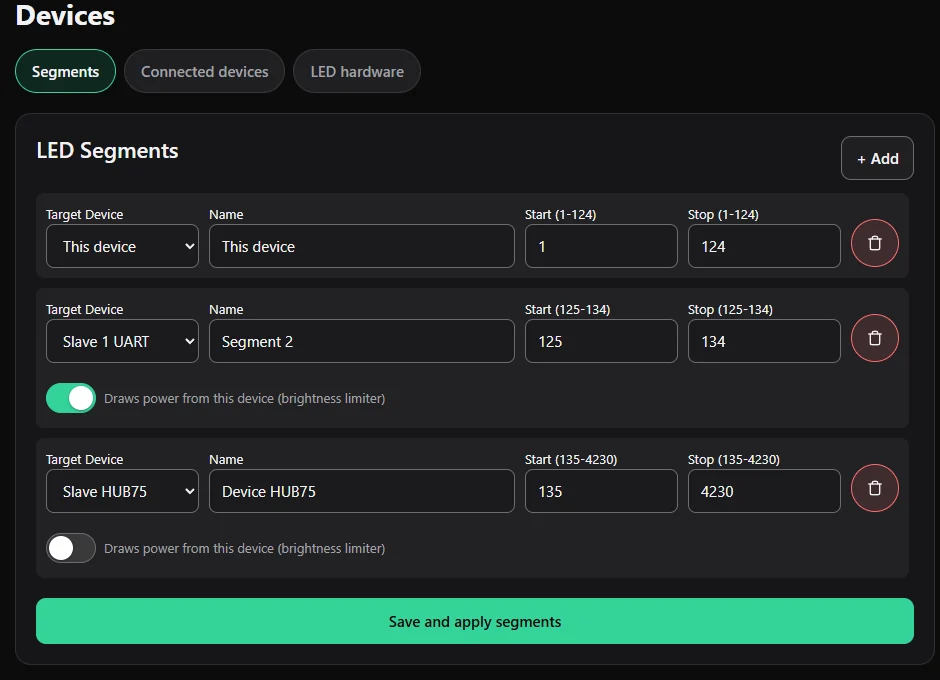
You split an LED strip into zones. Each zone gets its own effect, its own color and its own speed. A zone can also live on another board.
You set up the zones in the web interface. You can also let a zone draw its power from the main board, and then it counts toward the automatic current limit.
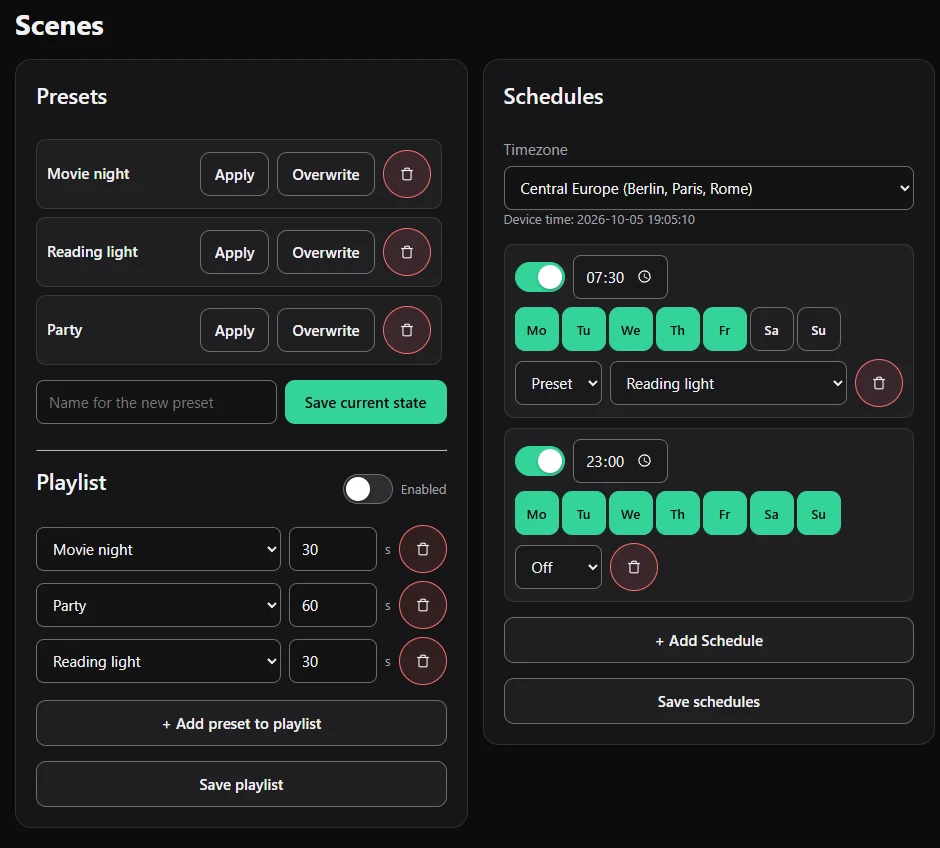
You save a lighting mood as a preset and call it up again with a tap. A playlist plays several presets one after the other.
With schedules you switch the light at fixed times, for example a reading light at 7:30 on weekdays and everything off at 23:00.
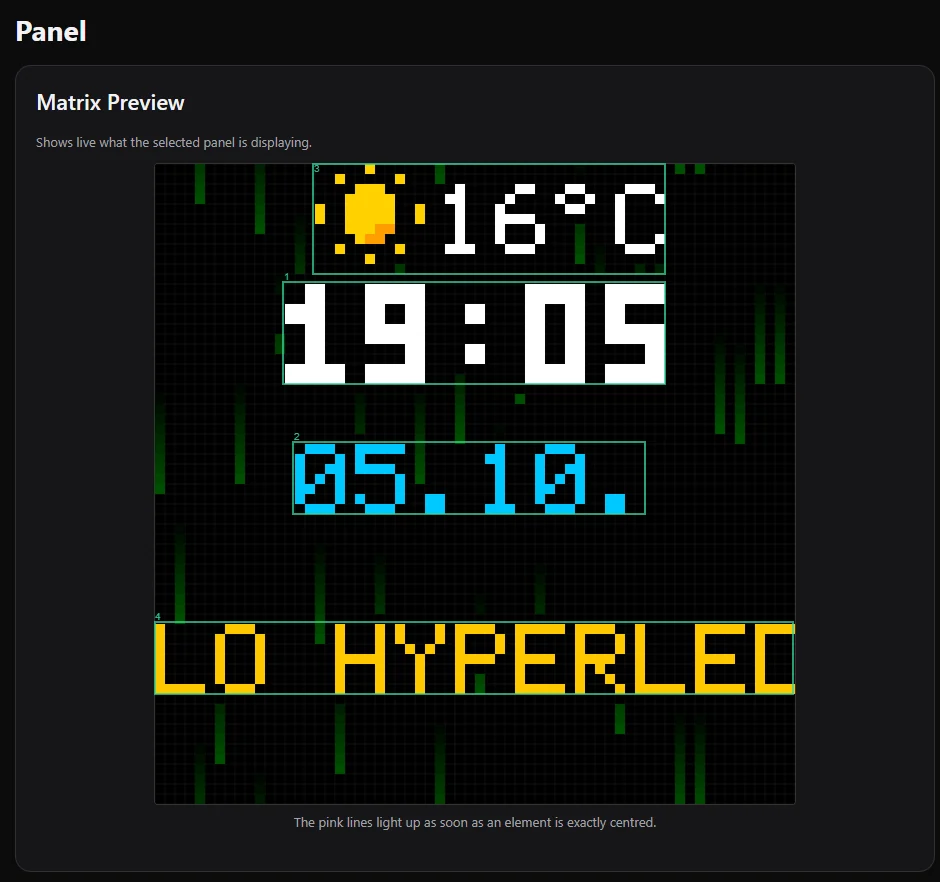
With an LED panel you show the time, the date, text, scrolling text, the weather and pictures. You place the elements freely on the surface. The preview in the browser shows live what is running on the panel.
The weather needs no access key. You draw your own pictures in the built-in pixel editor or upload them.
Several HyperLED boards run in sync, by cable or by radio. One is the master, all others are slaves. The master recognizes new slaves by itself.
The master only sends settings, and each slave calculates the picture itself. That keeps the radio link free.
Through MQTT every zone registers in Home Assistant as a light. Scenes, sensors, buttons and the firmware update come with it. If you like, the connection runs encrypted.
Plugins are small files that fetch a value from the network and show it as light, for example the progress of a 3D print. You install them in the browser without changing the firmware.
You need an ESP32-S3 board with at least 4 MB of flash, an LED strip and a suitable power supply. You build and flash with PlatformIO, an extension for Visual Studio Code.
The ESP32 must not power the LEDs. Use a suitable power supply and connect only the data line and the common ground to the controller.
After flashing you set up Wi-Fi:
http://192.168.4.1.http://hyperled.local.Both commands are needed. Without the second one the controller starts but shows only “Not Found” in the browser. The files in the releases are meant for the update in the browser, not for the first installation.
$ git clone https://github.com/KaelanTesseract/HyperLED.git
$ cd HyperLED
$ pio run -t upload      # Write the firmware
$ pio run -t uploadfs    # Write the web interface
Firmware for the slaves in HyperLED's master/slave network.
HyperLED plugin: shows the state of a Klipper 3D printer (via Moonraker).